Ledger.com/start – Step-by-Step Crypto Wallet Setup
Cryptocurrency is becoming an increasingly mainstream financial asset, but managing it securely can be challenging. While exchanges and hot wallets offer convenience, they often carry significant security and custodial risks. The best way to take control of your crypto is through a hardware wallet, and Ledger is one of the most trusted names in the industry.
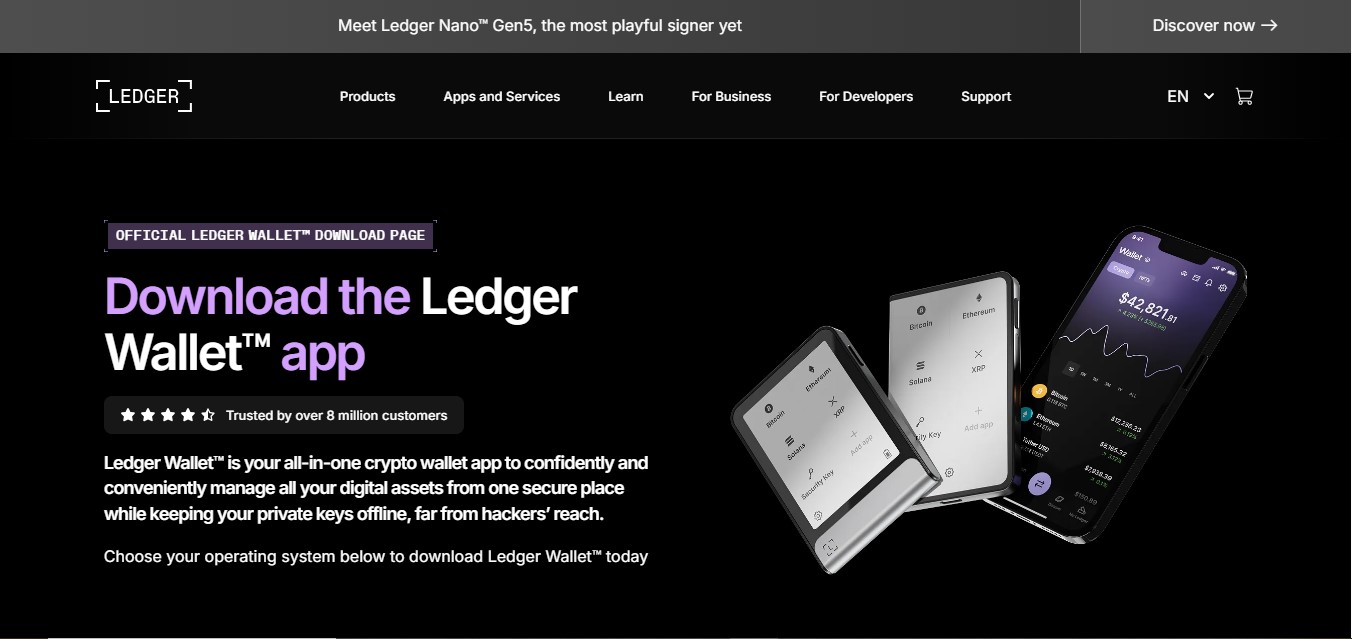
To help new users safely set up their Ledger wallet, Ledger provides a dedicated guide and onboarding process at Ledger.com/start. This resource walks users through every step of installing, initializing, and managing their Ledger device.
This article provides a comprehensive step-by-step guide to setting up a Ledger hardware wallet using Ledger.com/start, covering everything from device unboxing to secure management of cryptocurrencies.
Why Use Ledger for Your Crypto
Before diving into setup, it’s important to understand why Ledger is a popular choice for cryptocurrency security:
Hardware Wallet Security: Ledger devices store private keys offline, protecting them from malware, phishing, and hacking.
User Control: Only you control your private keys, ensuring full ownership of your crypto.
Multi-Asset Support: Ledger wallets support thousands of cryptocurrencies, including Bitcoin, Ethereum, and ERC-20 tokens.
Official Software Integration: Ledger Live Desktop and Mobile apps provide a secure interface for portfolio management, transactions, and market tracking.
Open-Source Transparency: Ledger’s software and firmware have components that are publicly auditable, increasing trust and reliability.
Using Ledger.com/start ensures you are guided through the official, secure setup process.
Step 1: Unbox Your Ledger Hardware Wallet
Ledger hardware wallets are shipped in tamper-proof packaging. When you receive your device:
Verify that the box is sealed and intact.
Ensure it contains all components, including:
The Ledger device (Nano S, Nano S Plus, or Nano X)
USB cable
Keychain or lanyard
Recovery sheet for backup phrases
Instruction guide
Never use a Ledger device that appears tampered with or comes from an unofficial seller, as this could compromise your crypto security.
Step 2: Go to Ledger.com/start
Visit Ledger.com/start on your computer or mobile device. This page is designed to guide new users through the entire setup process and ensures you access only the official Ledger software.
The website will direct you to:
Ledger Live Desktop app for Windows, macOS, or Linux
Ledger Live Mobile app for iOS or Android
Always download Ledger Live from official sources to prevent phishing attacks or counterfeit apps.
Step 3: Install Ledger Live
Once on Ledger.com/start, choose your preferred platform and download the Ledger Live application. Installation steps:
Run the downloaded installer for your operating system.
Follow on-screen prompts to install the software.
Open Ledger Live after installation.
Ledger Live serves as the secure interface between your hardware wallet and the blockchain, allowing you to manage accounts, track balances, and perform transactions.
Step 4: Initialize Your Ledger Device
When first powering on your Ledger wallet:
Select “Set up as new device” if this is your first Ledger.
Choose a PIN code. This protects your device in case it is lost or stolen.
Write down your recovery phrase (usually 24 words) on the included recovery sheet.
Confirm your recovery phrase by selecting words in the correct order on the device.
Important: Never store your recovery phrase digitally. Do not take a screenshot, photo, or save it online. Keep it offline in a secure location. This phrase is the only way to restore your wallet if your device is lost or damaged.
Step 5: Install Apps for Specific Cryptocurrencies
Ledger devices can store multiple cryptocurrency apps that allow you to manage different assets. Using Ledger Live:
Navigate to the Manager tab in Ledger Live.
Connect your Ledger device and allow the app to communicate.
Browse available apps for supported cryptocurrencies.
Click Install for each app you need.
Each app allows Ledger Live to interact with the blockchain of that particular cryptocurrency securely. You can uninstall apps anytime without losing assets, as private keys remain on the device.
Step 6: Add Accounts in Ledger Live
After installing cryptocurrency apps on your Ledger device, you need to add accounts in Ledger Live to manage your assets:
Open Ledger Live and go to Accounts.
Click Add Account.
Select the cryptocurrency type.
Follow instructions to synchronize your Ledger device.
Once added, accounts will display balances, transaction history, and portfolio performance. You can add multiple accounts for the same cryptocurrency if desired.
Step 7: Receive Cryptocurrency
To receive crypto on your Ledger wallet:
Open the Receive tab in Ledger Live.
Select the account you want to receive funds in.
Verify the receiving address displayed on Ledger Live matches the address shown on your hardware wallet.
Share the verified address with the sender.
Always verify addresses on the Ledger device screen to prevent malware from redirecting funds.
Step 8: Send Cryptocurrency
To send crypto securely:
Open the Send tab in Ledger Live.
Enter the recipient’s address and the amount.
Verify transaction details on your Ledger device.
Confirm the transaction physically on the device.
Sending crypto requires hardware confirmation to ensure that private keys never leave the device.
Step 9: Enable Advanced Security Features
Ledger provides several optional security features to enhance wallet protection:
Passphrase-protected hidden wallets: Create an extra layer of security for sensitive funds.
Device PIN: Prevent unauthorized access if your device is lost.
Secure backup: Keep recovery phrases offline and store them in a safe place.
Enabling these features further reduces the risk of theft or loss.
Step 10: Keep Ledger Live and Firmware Updated
Regular updates ensure your device and software remain compatible with new cryptocurrencies and protected against potential vulnerabilities:
Check Ledger Live for firmware updates.
Follow instructions to update your Ledger device securely.
Update Ledger Live when prompted by the application.
Never skip updates, as they often contain critical security patches.
Step 11: Optional – Use Ledger for Staking and Crypto Management
Ledger Live supports additional features for advanced users:
Staking: Stake certain cryptocurrencies like Tezos, Tron, and Ethereum 2.0 directly from Ledger Live to earn rewards.
Portfolio tracking: Monitor the value of your assets in real-time.
Swap and exchange: Use integrated third-party services to swap cryptocurrencies securely.
These features allow you to maximize your crypto holdings while keeping them secure on your Ledger device.
Step 12: Maintain Security Best Practices
To ensure long-term security of your crypto assets:
Never share your PIN or recovery phrase.
Only use official Ledger apps and websites.
Store your recovery phrase offline in a secure location.
Regularly back up accounts and verify recovery procedures.
Avoid using public or shared computers to access Ledger Live.
Following these practices will protect your funds from theft and loss.
Conclusion
Ledger.com/start provides an essential guide for anyone looking to set up a Ledger hardware wallet safely and securely. By following the step-by-step instructions—from unboxing to initializing the device, installing apps, adding accounts, and performing transactions—users can confidently manage their cryptocurrency while maintaining full control of their private keys.
With Ledger hardware wallets and Ledger Live, you gain the security of offline key storage, multi-asset management, and access to advanced features like staking and portfolio tracking. Following the official setup guide ensures that your wallet is configured safely, protecting your digital assets against malware, phishing, and other threats.
Whether you are a new investor just starting your crypto journey or an experienced trader seeking maximum security, Ledger.com/start is your gateway to safe and reliable cryptocurrency management. Taking control of your digital assets has never been easier or safer.