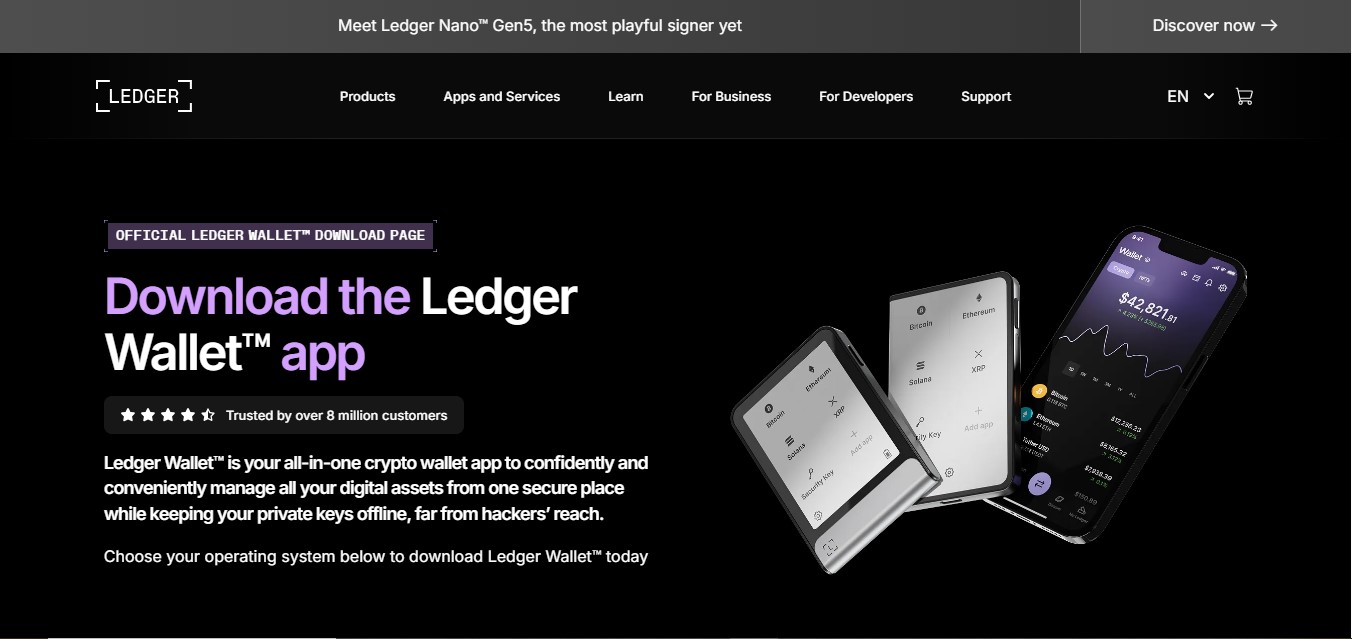
Ledger Start Guide – Secure Your Crypto Assets
Cryptocurrency has transformed the way we think about money, investment, and personal finance. From Bitcoin to Ethereum and thousands of other digital assets, the crypto ecosystem offers vast opportunities for growth, diversification, and financial independence. However, with these opportunities comes responsibility: securing your assets is paramount. Unlike traditional banking systems, cryptocurrency is self-custodied, meaning that the security of your funds rests entirely in your hands.
Ledger, a global leader in hardware wallet technology, has made securing and managing digital assets simple and accessible. The Ledger Start Guide is a comprehensive roadmap for anyone beginning their crypto journey, ensuring that your assets are safe from hacks, phishing attacks, and other digital threats. Whether you are a beginner or an experienced investor, this guide provides the knowledge and tools needed to manage your crypto securely.
Why Securing Your Crypto Matters
Unlike fiat currency stored in banks, cryptocurrency relies on private keys for ownership and access. If someone gains access to your private keys or recovery seed, they can control your funds instantly. Conversely, losing access to your private keys can mean permanent loss of your assets.
Ledger’s philosophy emphasizes self-custody, security, and simplicity. By using a hardware wallet paired with Ledger Live, users can confidently manage their digital assets without compromising on safety. The Ledger Start Guide walks users through each step to ensure their crypto journey begins on a solid security foundation.
Step 1: Choose the Right Ledger Hardware Wallet
The first step in securing your crypto is acquiring a Ledger hardware wallet. Ledger offers multiple devices tailored to different needs:
Ledger Nano S
A beginner-friendly, compact wallet that supports a wide range of cryptocurrencies. Ideal for users new to self-custody and cold storage.
Ledger Nano X
Designed for users with larger portfolios or those who require mobile connectivity via Bluetooth. Supports multiple accounts and advanced features.
Ledger Nano S Plus
A mid-range option combining affordability with extended storage for multiple apps and cryptocurrencies.
Purchasing your hardware wallet from Ledger.com ensures authenticity and eliminates the risk of counterfeit devices, which can compromise security.
Step 2: Set Up Your Ledger Device
Ledger Start Guide emphasizes a secure setup process to protect your assets from day one.
Initial Device Setup
Connect your Ledger wallet to your computer or mobile device.
Choose a PIN code to secure access to your device.
Follow the on-screen prompts to generate a 24-word recovery seed.
Recovery Seed Security
Your recovery seed is the master key to your wallet. Ledger Start Guide highlights critical best practices:
Write your seed on the provided recovery sheet.
Never store it digitally or online.
Keep it in a secure, offline location.
Avoid sharing it with anyone, even Ledger support.
These steps ensure that even if your hardware wallet is lost or stolen, your funds remain recoverable.
Step 3: Install Ledger Live
Ledger Live is the companion application that allows users to manage their wallets, track portfolios, and perform transactions securely. Available on desktop and mobile, Ledger Live integrates seamlessly with Ledger devices.
Key Features
Real-time portfolio monitoring
Send and receive cryptocurrencies
Buy, sell, and swap supported assets
Stake supported cryptocurrencies for rewards
Monitor market performance and transaction history
Ledger Start Guide provides detailed instructions on downloading, installing, and connecting Ledger Live, ensuring a smooth setup process for beginners and advanced users alike.
Step 4: Add Cryptocurrencies
Once your device and Ledger Live are set up, you can start adding cryptocurrencies to your wallet. Ledger Live supports hundreds of digital assets, including:
Bitcoin (BTC)
Ethereum (ETH)
Cardano (ADA)
Solana (SOL)
Polkadot (DOT)
It also supports a wide range of tokens, including ERC-20, BEP-20, and other blockchain-specific tokens.
Sending and Receiving Crypto
Ledger Start Guide walks users through safely sending and receiving cryptocurrency:
Open Ledger Live and select the asset.
Generate a receive address and confirm it on your device.
Verify recipient addresses carefully before sending.
Confirm all transactions on the hardware wallet for security.
By following these steps, users minimize the risk of mistakes and unauthorized transactions.
Step 5: Buy, Sell, and Swap
Ledger Start Guide demonstrates how users can buy, sell, or swap cryptocurrencies directly within Ledger Live using trusted partners.
Benefits of Using Ledger Live for Trading
Private keys remain secure on your Ledger device
No need to transfer assets to external exchanges
Transparent fees and rates
Convenient, integrated trading experience
This feature allows users to manage and grow their portfolios without compromising security.
Step 6: Staking and Earning Rewards
For supported cryptocurrencies, Ledger Live allows users to stake coins and earn rewards safely. Ledger Start Guide provides tutorials for:
Staking Tezos (XTZ), Algorand (ALGO), Tron (TRX), and other coins
Tracking staking rewards directly in Ledger Live
Keeping staked funds secure on the hardware wallet
Staking through Ledger Live ensures your assets remain in cold storage while still participating in network validation and earning rewards.
Step 7: Maintain Ongoing Security
Ledger Start Guide emphasizes that security is an ongoing process. Best practices include:
Always verify transaction details on your Ledger device
Keep device firmware and Ledger Live up to date
Avoid entering recovery seeds online
Be cautious of phishing attempts and fake websites
Store recovery seeds securely offline
Following these steps ensures your assets remain safe over time.
Ledger Start Guide for Beginners
For beginners, Ledger Start Guide simplifies the learning curve by providing:
Step-by-step hardware wallet setup
Tutorials for Ledger Live installation and usage
Instructions for sending, receiving, and staking crypto
Education on security best practices
Access to support and community resources
This structured approach helps new users confidently navigate the crypto ecosystem without compromising safety.
Advantages of Starting with Ledger
Ledger Start Guide provides several key advantages for anyone entering the crypto world:
Industry-Leading Security – Hardware wallets combined with Ledger Live provide unmatched protection.
User-Friendly Interface – Designed for both beginners and advanced users.
Full Self-Custody – You control your private keys and recovery seeds.
Portfolio Management – Track balances, performance, and staking rewards in real time.
Multi-Crypto Support – Hundreds of coins and tokens supported, with continuous updates.
Privacy Focused – Minimal data collection, ensuring personal information remains private.
By following the Ledger Start Guide, users build a secure foundation for a long-term crypto journey.
Who Should Follow Ledger Start Guide?
Ledger Start Guide is ideal for:
Beginners: Step-by-step guidance ensures a safe start in cryptocurrency.
Long-Term Investors: Cold storage and portfolio tracking enable secure investment strategies.
Privacy-Conscious Users: Full self-custody preserves anonymity.
Active Traders: Buy, sell, and swap assets directly from Ledger Live.
Advanced Users: Multi-account management, staking, and token support for sophisticated portfolios.
No matter the experience level, Ledger Start Guide provides essential tools for safe and confident crypto management.